Implementation
Campaign banner
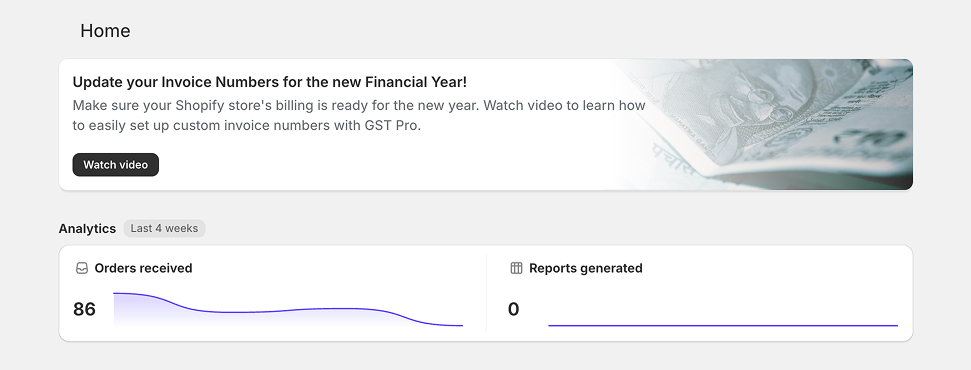
Create a campaign banner in Relay and mount it in the Shopify embed.
This page helps you create a clean campaign banner in Relay and publish it in the Shopify embed with the least amount of setup.
Minimum requirements
Create the campaign banner
In Relay, do the following:
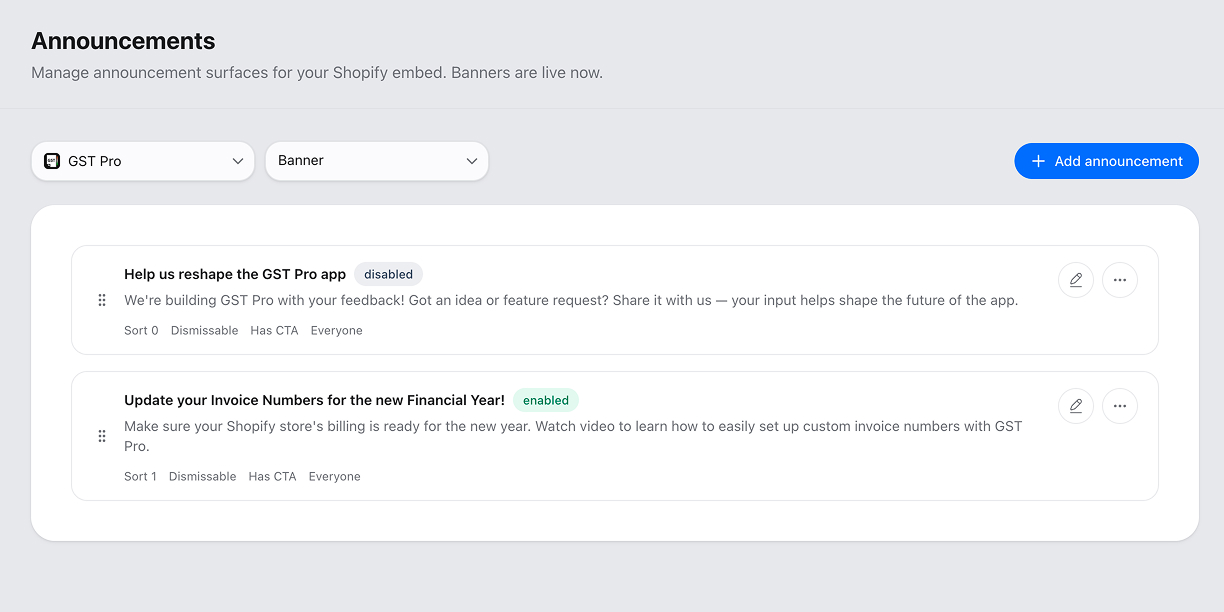
- Go to Campaigns.
- Choose the app you want the campaign banner to belong to.
- Add a title and description if you want visible copy.
- Add CTA buttons only if the campaign banner needs an action.
- Enable the campaign banner from the campaigns list when it is ready to go live.
Campaign banners are app-scoped, so each one belongs to a specific app.
Mount only the campaign banner
<script src="https://app.superrelay.ai/embed/embed.js" data-token="YOUR_EMBED_TOKEN"></script>
<div id="relay-campaign-banner"></div>
If you only want the campaign banner surface, you do not need the other Relay embed containers.
Shopify context
The campaign banner uses window.shopify.config.shop to determine shop context.
That matters for:
- shop-scoped visibility
- dismiss state per shop
- targeted display logic
CTA actions
Buttons support:
linkeval
If you use eval, write plain JavaScript that is safe to run inside the Shopify embedded app. Keep it small and intentional.